
 EN
EN



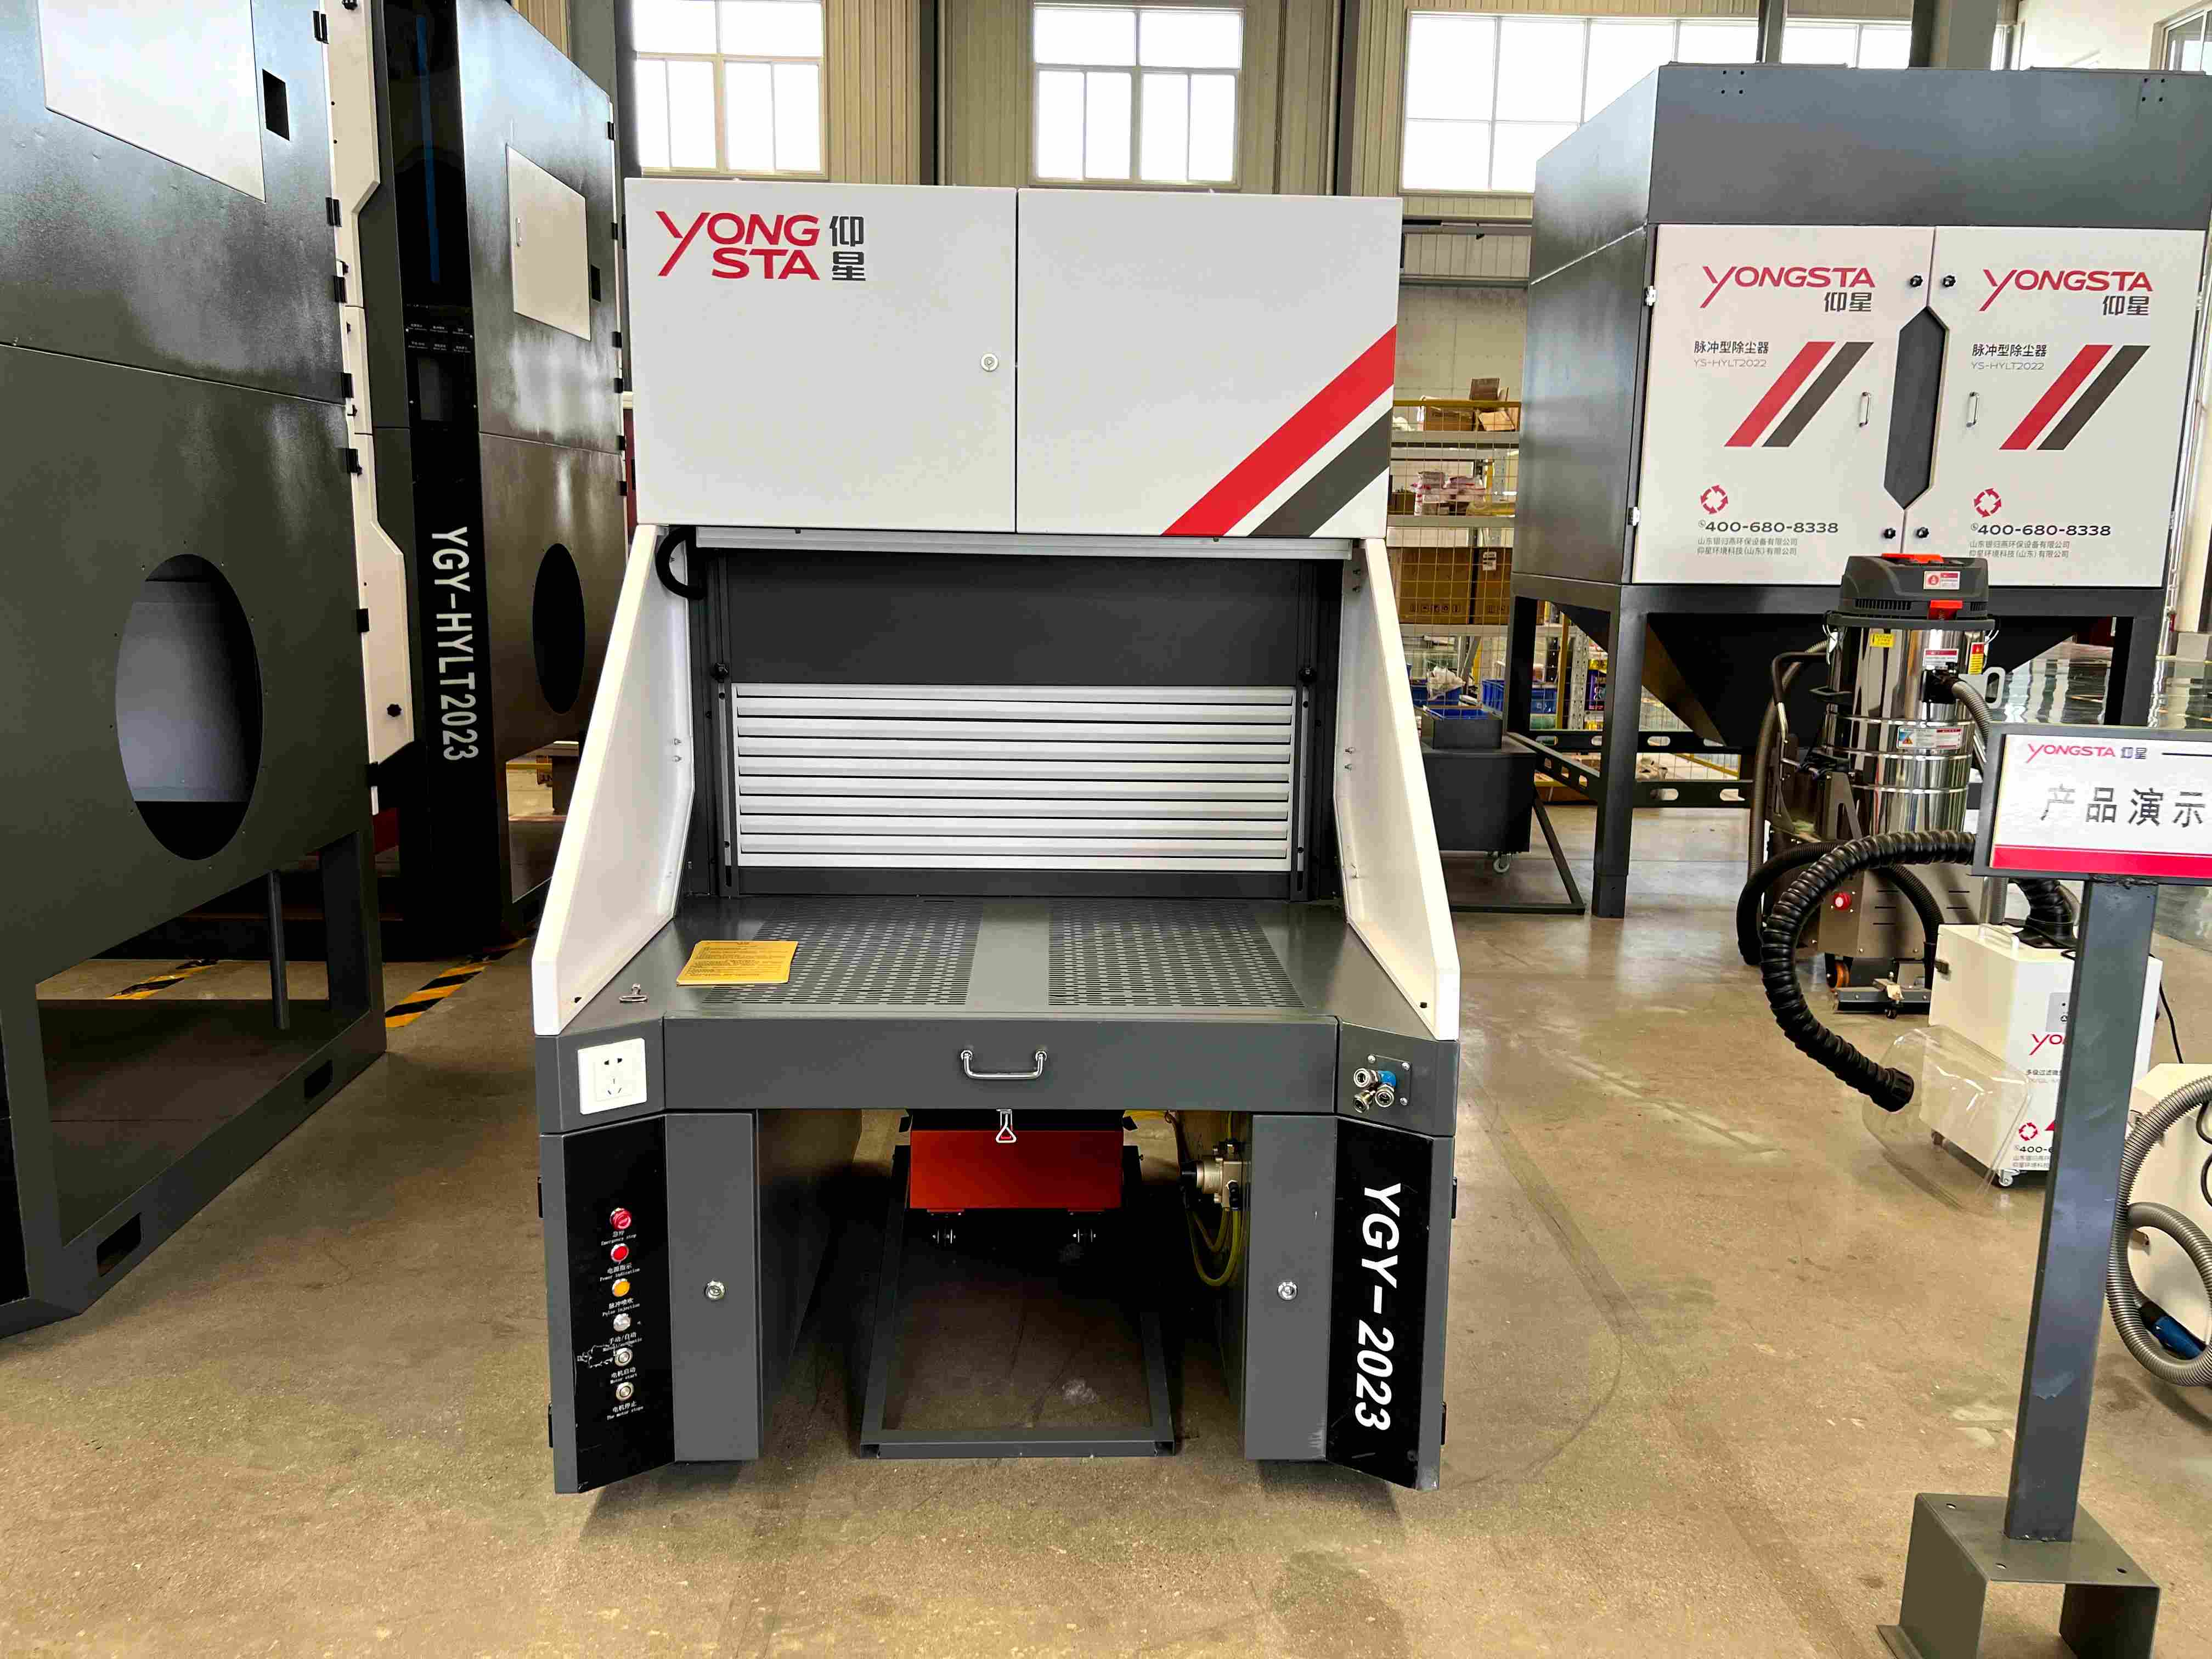
A grinding dust collection workbench serves as the backbone of any professional grinding operation, but many operators fail to achieve optimal suction performance. Without proper optimization, even the best grinding dust collection workbench will waste energy, reduce efficiency, and allow harmful dust particles to escape into the workshop environment. Understanding how to maximize the suction capability of your grinding dust collection workbench directly impacts productivity, worker safety, and equipment longevity. This guide walks you through the essential strategies to fine-tune every aspect of your system.
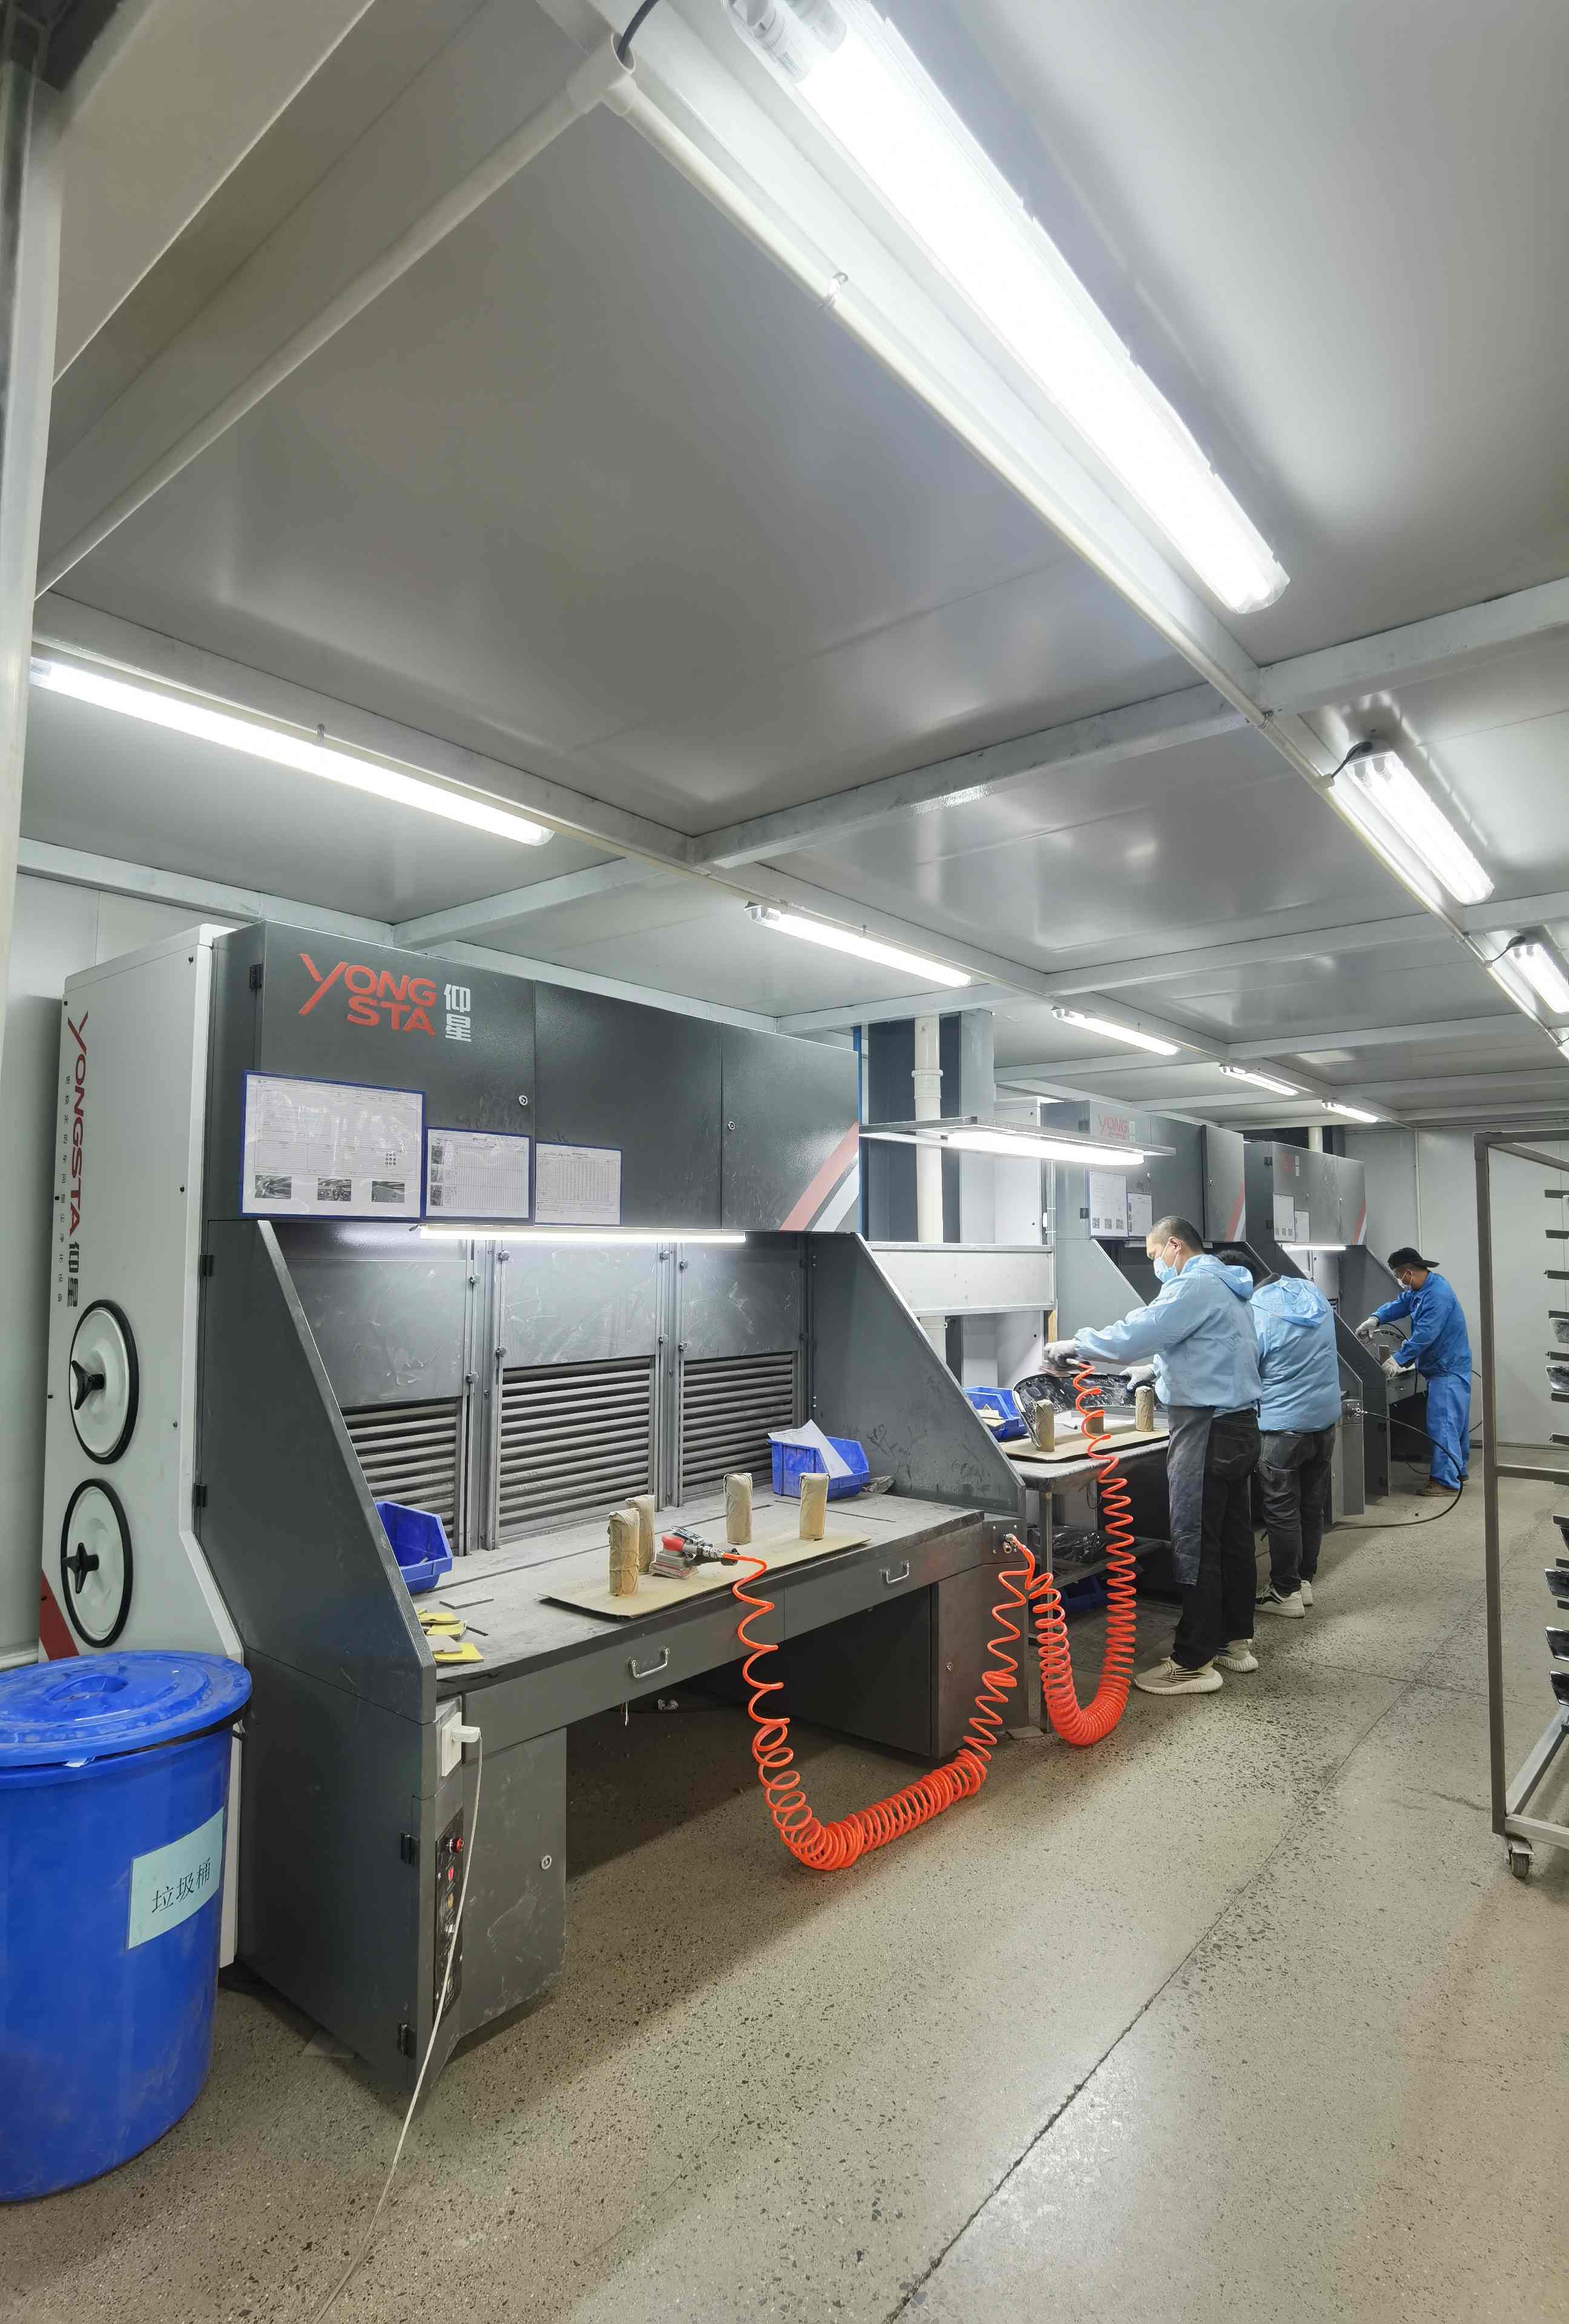
The performance of your grinding dust collection workbench depends on multiple interconnected factors, from intake surface design to filter maintenance schedules. Many workshops operate their grinding dust collection workbench far below peak efficiency simply because they haven't addressed basic design flaws or maintenance gaps. Optimizing suction isn't complicated, but it does require attention to detail and a systematic approach to identifying bottlenecks in your system.
Understanding Air Intake and Dual-Surface Suction Design
Positioning Your Workpiece for Maximum Capture Across Side and Bottom Intake Surfaces
The grinding dust collection workbench draws air through two integrated intake surfaces: a side intake channel along the lateral face of the work surface and a bottom suction surface built into the work deck, creating a dual-directional airflow that captures dust from both directions simultaneously. This dual-directional airflow design creates a more complete capture envelope around the grinding zone. Fine particles deflected off the workpiece sideways are intercepted by the lateral intake, while heavier debris and settled dust on the work surface are pulled downward through the base, leaving virtually no escape path for contaminants.
For best results, keep your grinding workpiece positioned within the active suction zone — ideally centered over the bottom suction surface while staying adjacent to the side intake opening. This alignment ensures both airflow paths work in concert rather than competing against each other. The side and bottom intake geometry is calibrated to the system's dual-channel capacity: forcing excessive material through one channel while neglecting the other reduces overall efficiency, so maintaining a balanced workflow across the grinding surface is key.
Optimizing Side Intake Slot and Bottom Suction Surface Design
The configuration of your grinding dust collection workbench's side intake slot and bottom suction surface directly influences how effectively dust particles enter the collection system. The side intake slot is engineered to intercept airborne particles at the trajectory they travel immediately after leaving the grinding surface — capturing dust at the lateral dispersion stage before it reaches breathing height. Meanwhile, the bottom suction surface draws heavier particulate downward through a perforated or slotted base panel, preventing accumulation on the work deck and reducing the risk of secondary dust resuspension when tools or workpieces are repositioned.
Together, this side-and-bottom suction architecture creates overlapping capture fields that compensate for each other's blind spots. Test the balance of your dual airflow system by observing dust behavior during operation: if particles consistently escape laterally, the side intake slot may need repositioning or the airflow ratio adjusted; if dust accumulates on the deck surface, verify the bottom suction channels are unobstructed. A well-tuned grinding dust collection workbench will show clean, inward-directed airflow from both planes simultaneously, with no visible dust plumes escaping the work area.
Ductwork Configuration and Air Path Optimization
Reducing Friction and Maintaining Velocity
Air velocity through ductwork connected to your grinding dust collection workbench must be maintained between 3,500 and 4,500 feet per minute to effectively transport dust particles without requiring excessive fan power. Duct diameter is critical — undersized ducts create resistance that reduces the suction available at your grinding dust collection workbench intake surfaces, while oversized ducts allow dust to settle and clog the system. Use smooth-walled metal ducts instead of flex hose where possible, as rough internal surfaces on a grinding dust collection workbench duct system create turbulence and friction losses. Every bend and connection point on your grinding dust collection workbench ducting should be sealed and angled appropriately to maintain smooth airflow toward the collection chamber.
Eliminating Leaks and Air Bypass
Even small leaks in your grinding dust collection workbench ductwork can severely compromise suction performance at the work surface. Inspect all connections, seams, and access points on your grinding dust collection workbench ducting for gaps or deteriorated sealant. Air bypass around the fan or collection chamber represents wasted suction capacity that could be directed to your grinding dust collection workbench side and bottom intake surfaces. Seal every joint and connection with high-temperature duct mastic or metal tape, paying particular attention to areas where your grinding dust collection workbench main duct connects to the fan housing and collection bin. A single 1-inch hole in your grinding dust collection workbench ductwork can reduce effective suction by 10 to 15 percent.
Filter Management and System Maintenance
Maintaining Filter Condition for Peak Suction
Filter clogging is the most common reason for degraded suction on a grinding dust collection workbench, yet this issue is easily preventable through regular inspection and cleaning. A clogged filter on your grinding dust collection workbench forces the fan to work harder while delivering less air volume to the intake surfaces, creating a vicious cycle that eventually damages the motor. Check your grinding dust collection workbench filter element weekly or after every 40 hours of grinding work, depending on dust generation rates in your shop. Most grinding dust collection workbench systems benefit from automatic pulse cleaning or manual bag-shaking mechanisms that keep filters clear without requiring filter element replacement every few weeks.
Filter Media Selection and Dust Particle Size
The filter media installed in your grinding dust collection workbench must match the dust particle sizes generated by your specific grinding operations. Fine grinding dust from carbide or ceramic grinding wheels requires higher-efficiency filter media than coarse dust from tool grinding or surface preparation work. Upgrading to premium filter media on your grinding dust collection workbench can improve suction recovery by 20 to 30 percent while extending filter life significantly. Ensure your grinding dust collection workbench filter housing creates a proper seal around the filter element — bypass air around damaged gaskets or filter seals means unfiltered dust entering the fan, which accelerates motor wear and reduces long-term performance of your grinding dust collection workbench system.
Fan Performance and Motor Considerations
The fan motor in your grinding dust collection workbench must deliver consistent static pressure to maintain uniform suction across varying filter conditions. As your grinding dust collection workbench filter loads with dust, the fan must increase pressure output to maintain constant air volume at the side and bottom intake surfaces — this is where motor undersizing causes problems. Monitor suction pressure using a simple water column manometer or digital gauge to track how your grinding dust collection workbench performance changes throughout the day. If static pressure rises excessively as your grinding dust collection workbench operates, your filter needs immediate cleaning, or your fan motor may be inadequately sized for your application requirements.
Practical System Testing and Adjustment
Measuring Suction Performance
Establish baseline measurements of your grinding dust collection workbench suction performance using simple diagnostic tools. Attach a water column manometer to the side intake opening or bottom suction surface port of your grinding dust collection workbench to measure static pressure in inches of water column. Record these measurements daily for one week to establish normal operating parameters for your grinding dust collection workbench. When measurements change significantly, you have a clear signal that maintenance on your grinding dust collection workbench system is needed before suction degradation affects your grinding quality and workshop air quality.
Optimizing Collection Chamber Performance
The collection chamber of your grinding dust collection workbench must be sized to allow dust particles to separate from the airstream before reaching the filter element. Undersized collection bins on a grinding dust collection workbench force dust into the filter prematurely, causing rapid clogging and reduced suction. Install a hopper or settling chamber at least 18 to 24 inches below the duct inlet of your grinding dust collection workbench, allowing gravity to pre-separate heavy particles before air enters the filter chamber. This design modification to your grinding dust collection workbench can extend filter life by 40 to 60 percent while maintaining more consistent suction throughout the workday.
FAQ
What static pressure reading indicates optimal suction on a grinding dust collection workbench?
Optimal static pressure at the side or bottom intake surface of a grinding dust collection workbench ranges from 3.5 to 5.0 inches of water column under normal operating conditions with a clean filter. As your grinding dust collection workbench filter loads with dust, static pressure will rise gradually — when it reaches 6 to 7 inches of water column, your filter element requires cleaning. This pressure range maintains effective dust capture across the side and bottom intake surfaces of your grinding dust collection workbench while keeping motor energy consumption reasonable. Higher pressures indicate a clogged filter or undersized ducting on your grinding dust collection workbench system.
How often should I clean or replace the filter on my grinding dust collection workbench?
Filter maintenance frequency for your grinding dust collection workbench depends on grinding dust volume, filter media type, and collection chamber design. For typical grinding operations, inspect your grinding dust collection workbench filter weekly and perform pulse cleaning when static pressure reaches 6 inches of water column. Full filter element replacement is usually necessary only once or twice per year on an industrial-grade grinding dust collection workbench with proper maintenance protocols. Track static pressure readings on your grinding dust collection workbench to establish the exact maintenance schedule that works for your operation.
Can I improve my grinding dust collection workbench suction by upgrading the fan motor?
Upgrading the fan motor on your grinding dust collection workbench helps only if your existing motor is undersized or worn. Before investing in a new motor for your grinding dust collection workbench, verify that your ductwork is properly sealed, your side and bottom intake surfaces are unobstructed and correctly configured, and your filter is clean — poor suction usually stems from these factors rather than motor inadequacy. A properly sized grinding dust collection workbench system with an appropriately selected fan motor will deliver consistent performance for many years without requiring upgrades. Consult the original equipment specifications for your grinding dust collection workbench to confirm your motor selection is correct.

